
Wood Dining Table Legs Guide
If you are looking for high-quality unfinished dining table legs for your upcoming project, then Highland Manor Wood is the best choice for you. Our do it yourself unfinished dining table legs are designed to last forever. Our natural wood dining table legs are ready to be painted or stained for use.
We have a variety of wooden dining table legs in different sizes and styles. We also have many customized wood turned products. Solid wood turned legs are our expertise. Farmhouse, country farm, contemporary, modern, eclectic, traditional are only a few of the styles our company offers. Maple, oak, cherry, pinewood, and many other options are available for choosing a wood type for your unfinished dining table legs. Can’t find what you’re looking for? Contact us for a free quote to create any style imaginable or match your dining table legs with other projects around your home. We also offer coffee table legs, end table legs and many more solid wood furniture parts. Add beauty to your projects with peace of mind and craftsmanship that will stand the test of time.
Table of content
How to Stain Dining Table Legs
How to Install Dining Table Legs
Dining Table Leg Length
Now we will discuss the right method of choosing unfinished dining table legs for your project, and we have also compiled the links for purchasing them. All of our wooden dining table legs are pre-sanded and ready to finish in many wood types.
If you already know what type of unfinished table leg you are looking for, below are the necessary links:
For the ones who want help in choosing the best wood furniture parts for their project, below are the details.
Highland Manor Wood Products offers the best wood to meet your requirements -whatever your project is!
Below, the mentioned points are needed to be kept in mind while choosing an unfinished wooded furniture leg.
- Height/Length
- Width
- Wood Type
- Style
- Do you need a "45-degree notch"?
The height/length of the leg depends on the type of table (or bench/seating) that you are looking for. Desks and dining room tables are usually the same height (29" tall) where end tables ("21 tall) are a little shorter and coffee tables (18" tall), benches and seating (18" tall) are even shorter.
Dining Tables - 29" Tall
Desks - "29 Tall
End Tables - "21 Tall
Coffee Tables - "18 Tall
Benches and Seating "18 tall
How do you measure table legs?
The above-mentioned sizes are standard sizes, and if you want to match your furniture right size is needed first. Measure the distance between the floor and the underside of the base of the table. Do not measure the top of the table for size accuracy, just from the floor to the underside of the base of the table.
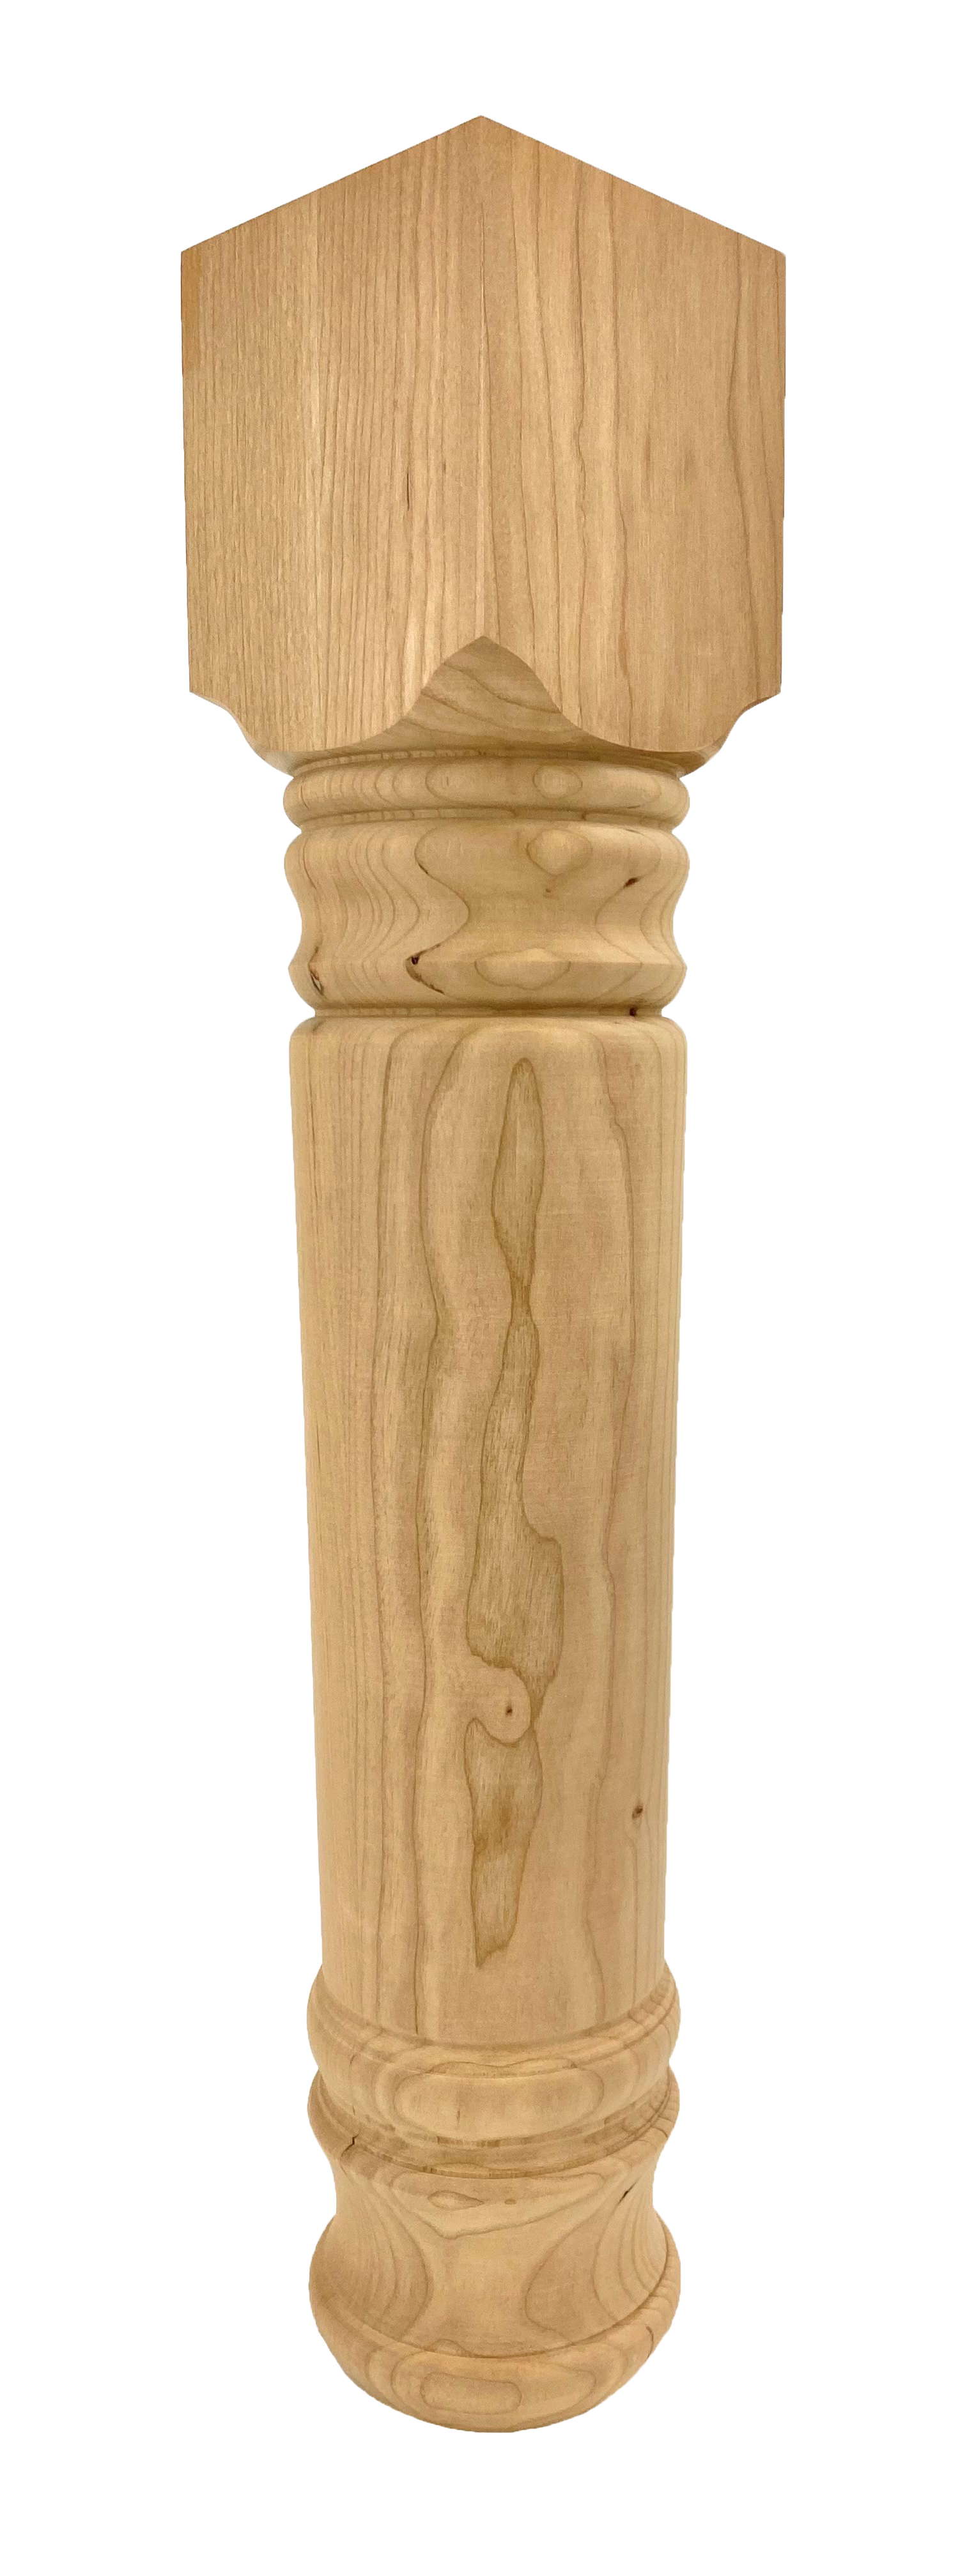
Dining Table Leg Designs
We offer many different styles of dining table legs. Each comes with unique designs. A few designs and styles we offer are mentioned below.
Solid Unfinished Wood Dining Table Legs
Our Dining Table Legs are available in 29" height, varying in width from 2 3/4" to 5". All our wood table legs are unfinished and sanded with 150 grit. The legs are designed using the best craftsman. Our products are packed carefully to be delivered to your doorstep for your do-it-yourself projects.
Our wood type options let you pick the best options for different projects and under different budgets. You can either paint or stain our products, whatever your project needs!
Round dining table legs

Round dining table legs are for the ones looking for traditional style table legs. A variety of styles and sizes are available in this category to select.
Highland Manor Wood Products always provides top quality table legs.
Table Legs can also be used for desk legs, custom vanity legs, and other projects that call for a 29" height.
Square Dining Table Legs
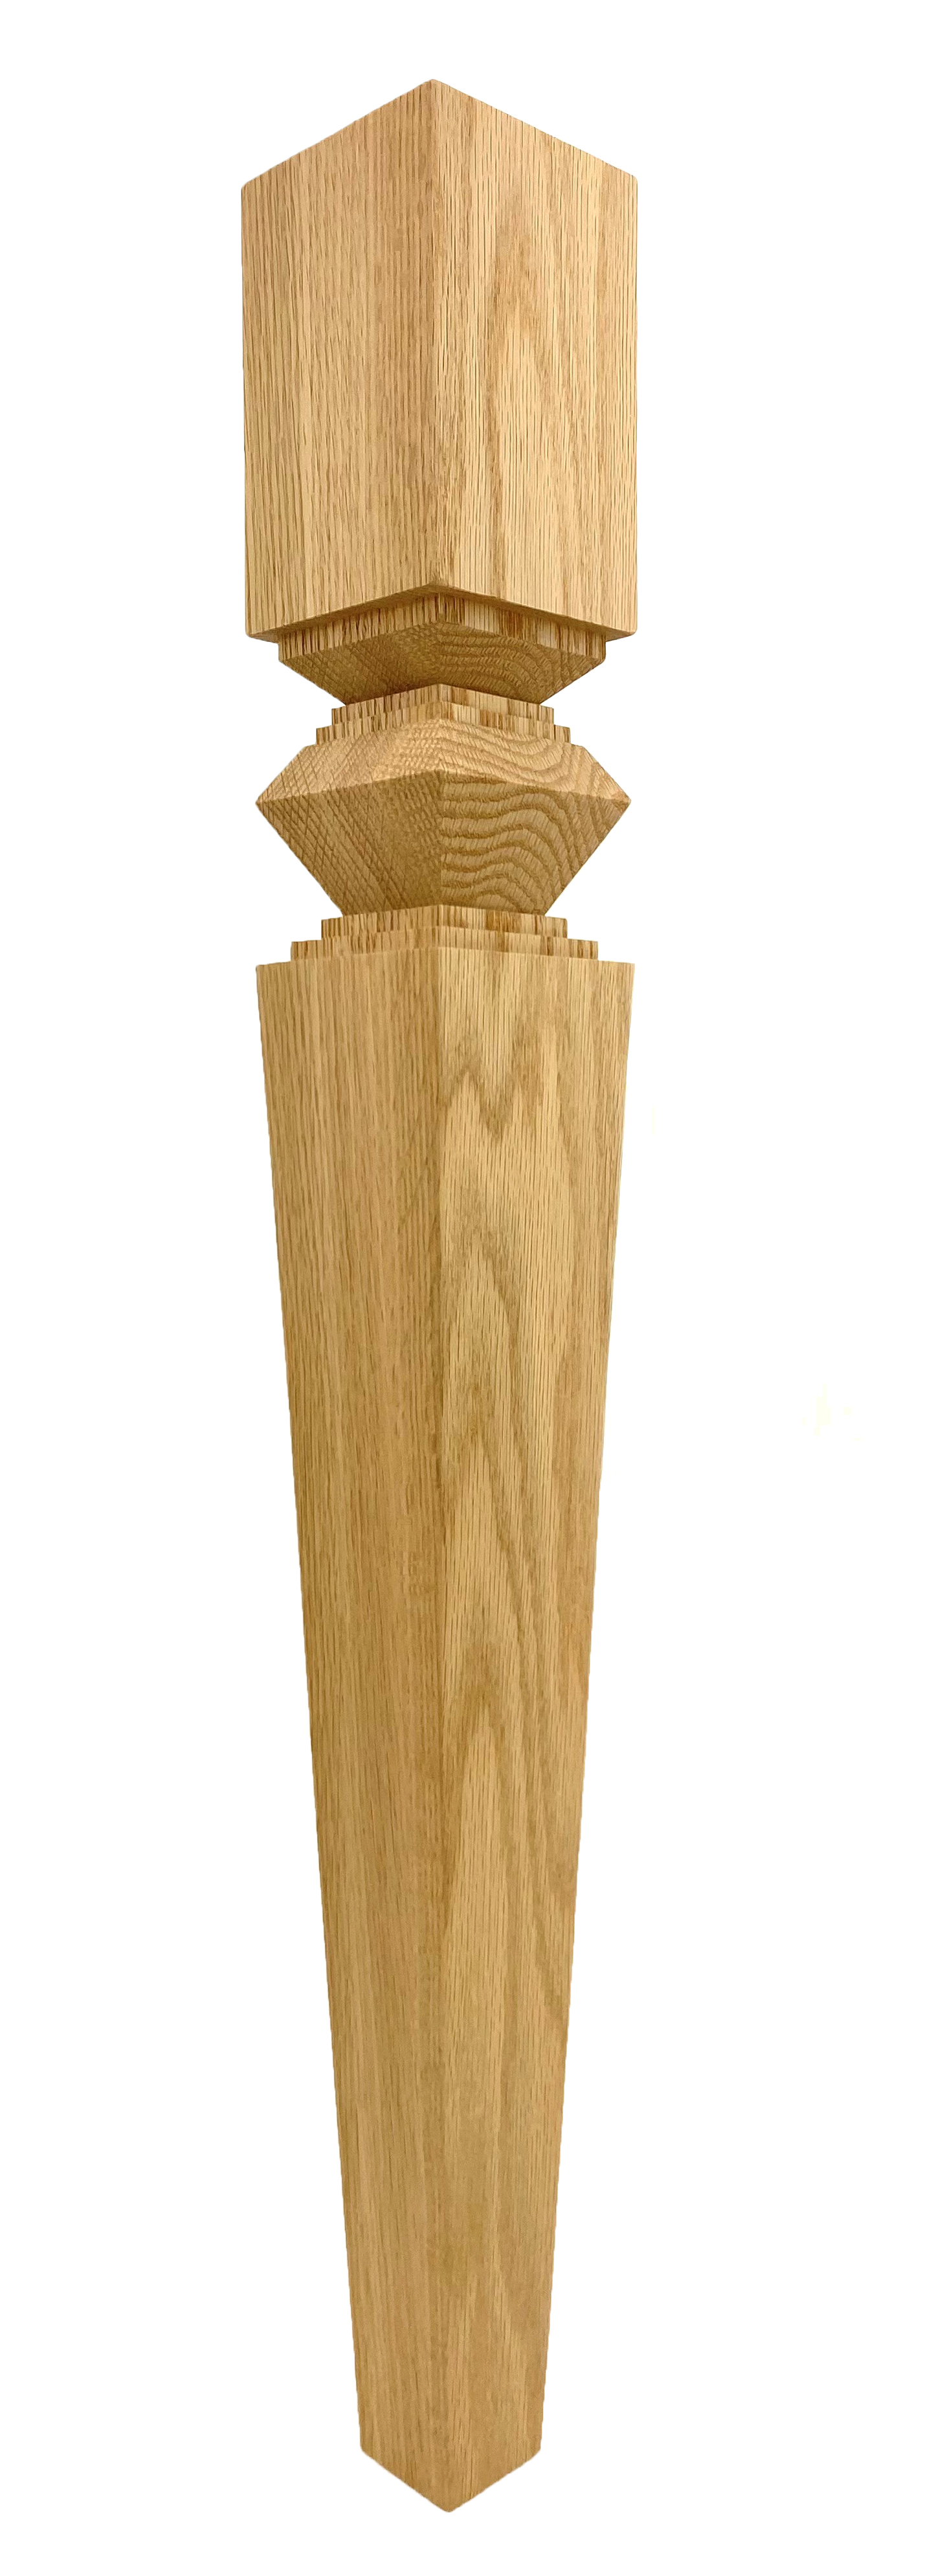
Our square dining table legs also come in a variety of sizes and shapes. They are sanded and are ready to be finished. Both hardwood and softwood options are available in square dining table legs that will help you select the best possible option for your project. If you are looking for something contemporary, then our square dining table legs are the best choice that will give an elegant and modern look. These square table leg styles are most suitable for contemporary, urban, industrial, and eclectic designs.
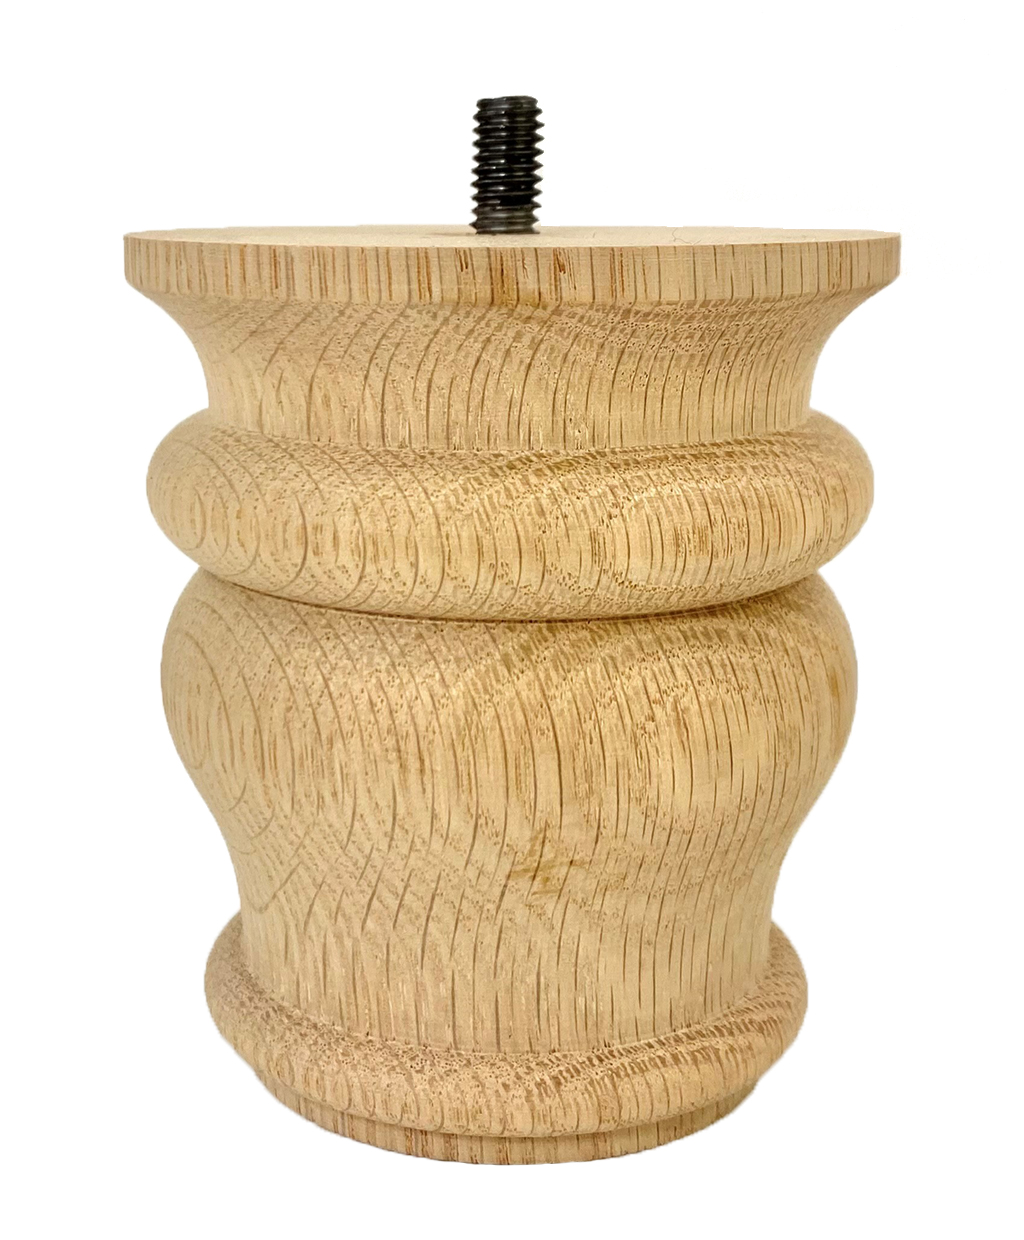
End Table, Coffee Table & Bench Legs
End Table Legs are available at 21" in height. Coffee Table Legs are the best options for both tables and benches at 18" in height. They are also available at 34 1/2" heights.
Our dedicated craftsmen are here to provide quality customer care. Highland Manor Wood Products stands behind their wood table legs and are here to provide you with the best for your projects for years to come.
How to Stain Dining Table Legs
A few steps are involved in professionally staining unfinished wood dining table legs. Let’s discuss those steps one by one.
- Step 1 : Using an Allen wrench or the screwdriver remove the legs from the table. The screws are normally beneath the table corner.
- Step 2 : Screw a leg into a vice clamp by placing the top (where the leg meets the table) into the clamp horizontally with a minimal amount of the leg's top in the clamp.
- Step 3 : If this is not a new and unfinished leg, remove the older paint or staining using stripping brick rubbing the surface of the leg. Furniture stripping bricks are available in different brand names and do not require any liquid chemical. Stripping bricks are needed to be rubbed with a light hand to prevent furniture scratching.
- Step 4 : Then the legs are sanded until the leg is smooth. Extra dust and grit are wiped away using a towel or rag. Skip this step if you are already purchasing one of our pre-sanded and ready to finish furniture legs.
- Step 5 : Open the stain can by sliding a flathead screwdriver head under the rim and prying upward. Move the screwdriver around the lid, prying it open.
- Step 6 : Dip the paintbrush/sponge brush into the stain, wiping the excess stain against the top rim of the can.
- Step 7 : Paint the leg of the dining table in the direction of the wood grain towards, the leg's end after starting from the top of the leg. Wipe the extra stain from the brush to prevent dripping. Stain all the legs and let them dry for around four hours.
- Step 8 : The leg is removed from the clamp. Turn the leg so the unstained portion is visible in the clamp. Cut a small strip of rag and wrap it around the stained portion of the top of the leg you just stained. Put the leg in the clamp. Stain the unstained portion of the leg top. Allow the stain to dry.
- Step 9 : Apply polyurethane coat in spray form or with a paint brush. If spraying, hold the clear spray polyurethane nozzle at least 12 inches from the leg to minimize drips and allow it to dry.
- Step 10 : Remove the leg from the vice. Spray the unvarnished leg top and allow the polyurethane to dry completely in about 24-hours. Then reattach the table leg using the existing hardware.
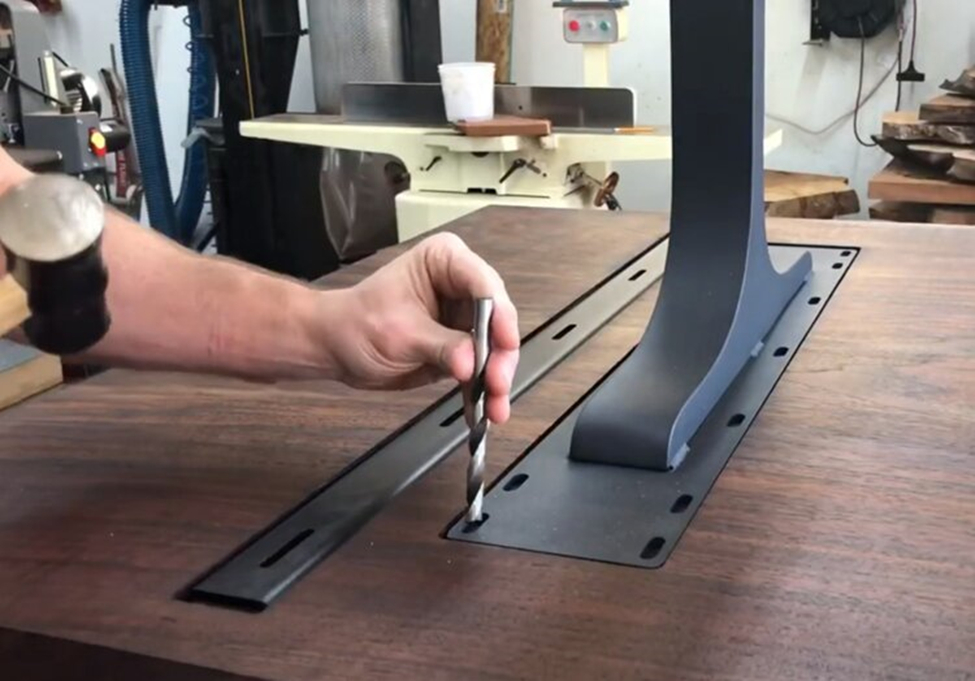
HOW TO INSTALL DINING TABLE LEGS
Below are certain things to keep in mind when attaching the wood dining table legs:
- Wood screws must not be used straight into the table
- Keep the overall height of the dining table legs 30 inches
- For dining tables, position your legs 16-20" from the end of the table for allowing convenient sitting at the other end
- Mark all of your mounting holes with the legs in place
- Remove legs and drill holes for threaded inserts
- Install threaded inserts with a dab of glue for lubrication
- Use furniture bolts to attach legs to the tabletop. Don't overtighten, just snug.
TOOLS AND HARDWARE NEEDED
Different table leg hardware is needed for properly installing the wooded dining table legs. Below is a list of supplies commonly needed when installing dining table legs:
- Hand drill
- Tape measure
- Brad-point bit
- Stop collar (optional)
- Threaded inserts
- Countersink bit
- T-handle Allen wrench
- The glue of choice (optional)
- Furniture bolts
- Blue thread lock (optional)
HARDWARE FOR TABLE LEG ATTACHMENT
Steel threaded inserts and furniture bolts are the best to choose. The low profile aspect of the furniture connector style bolts is most popular. They are black and have thin, wide heads.
MARKING YOUR HOLES
With the legs set in place, take your time, and mark the perfect center in the correct position. Brad-point hammer and mallets are used to tap the bit in the middle of each hole.
INSTALLATION OF YOUR THREADED INSERTS
Manufacturer recommendations are advised before choosing drill bit size.
Brad-point bit and stop collar are mostly recommended for foolproof installation. Drill your hole straight up and down. You need to drill all the holes at once.
Insert Allen style steel inserts with the help of a hand or T-wrench. A drill or an impact driver can also be used for inserting them. Putting a dab of glue on the insert can help slide it in and ensure solid application. Epoxy and CA glue are also stronger options.